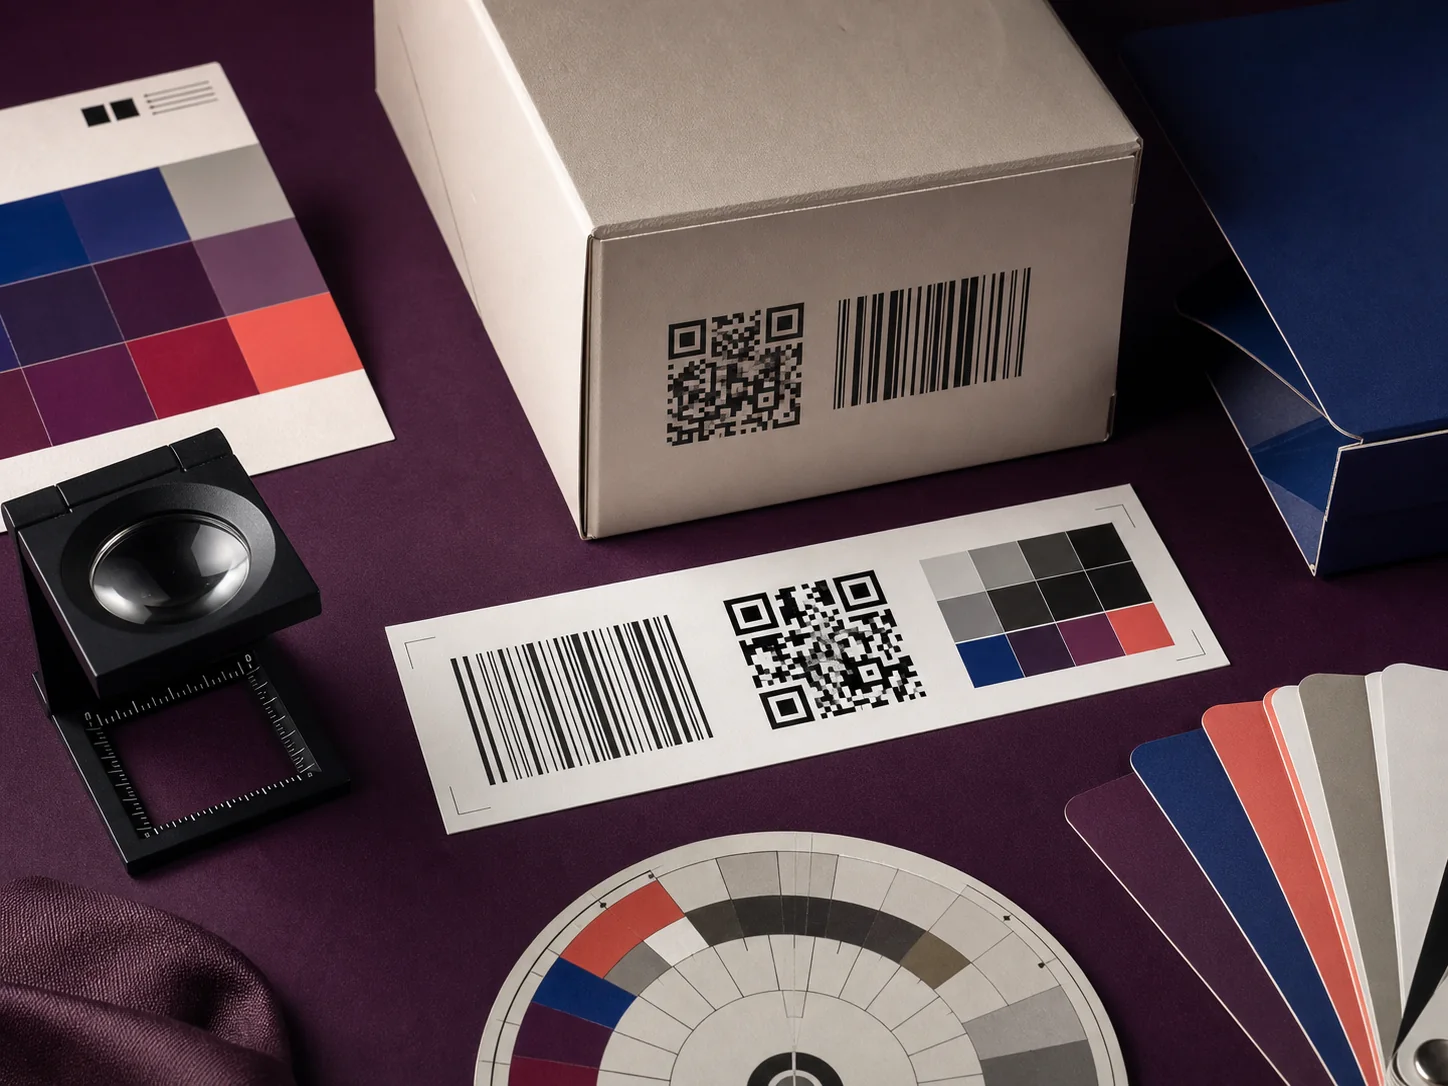
Keep symbol data under one accountable owner
The brand or item-data owner should supply the correct GTIN or encoded data and the required symbol type. The designer places the approved symbol; the printer protects its reproduction. Do not redraw bars, recreate a code from a screenshot or generate an unofficial number to fill a layout.
GS1 states that it is the official provider of GS1 GTINs and EAN/UPC barcodes globally. Record the item, symbol, encoded value, artwork version and approval together so a visually identical pack cannot carry the wrong data.
Protect size and quiet zones
Do not scale a code by eye to fit the remaining corner. Symbol size, module or bar width, height and surrounding clear space depend on the symbology and application. Lock those constraints into the artwork template before decorative elements fill the panel.
GS1’s 2026 creation and printing playbook identifies insufficient quiet zones as a common cause of 2D-code scan failure. Its retail guidance describes a one-module quiet zone for Data Matrix and four modules on every side for QR Code. The applicable GS1 specification should determine the final value.
Choose contrast for reliable scanning
Black on white remains the safest combination. GS1 guidance allows other dark bar colours and light backgrounds, but warns that scanner behaviour and colour reflectance matter. A combination that appears contrasting to the eye may not behave the same under the scanner’s light.
Avoid building one-dimensional bars from multiple process colours where misregistration can soften edges. Test codes printed over coloured, metallic, recycled or translucent material rather than assuming the substrate behaves like white proof paper.
Keep codes away from physical interference
Do not place a symbol across a fold, seam, flap, perforation, tight curve, die-cut or rough texture. Leave room for trim and forming movement. On flexible or cylindrical packs, test the real filled shape and the direction from which it will be scanned.
Lamination, gloss varnish and reflective films can introduce glare; embossing, debossing and heavy texture can distort the surface. Keep finishing outside the protected symbol area unless a verified production test proves otherwise.
Verify after production changes the object
A phone scan is a useful quick check, not a complete verification programme. Inspect the final substrate, print method, colour, finish and formed pack at production size. Sample across the run when ink gain, registration or material variation can change performance.
Record the verified artwork version and retain representative production samples. If the code is resized, recoloured, moved, re-encoded or placed on a different material, treat it as a new verification decision.
- Correct encoded data and check digit
- Approved symbology and production size
- Required quiet zone preserved
- Sufficient symbol-to-background contrast
- No fold, edge, finish or curvature interference
- Verification on the final produced pack